📖 User Guide
This user Guide is updated regularly. It allows you to enter in the details to learn how to use the editor.
|
📄 View manual in PDF format Listen in voice mode :  LevelLast update : August 10, 2025🌐 Visual Logic
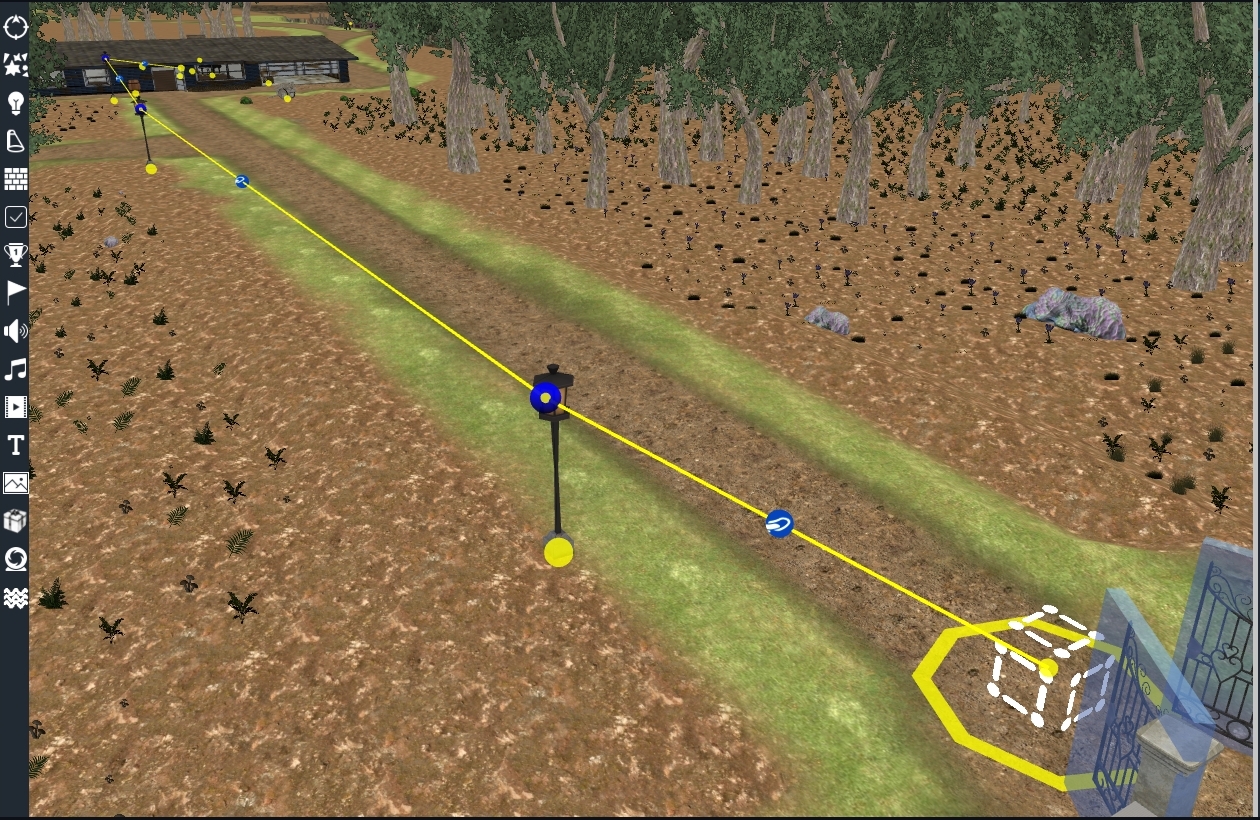
This chapter focuses on the core of the level editor. Here's an example of such a connection:
The first connection is a trigger zone activated when the player passes through the portal. You can perform all kinds of actions using pre-built scripts. No need to code, unless you’re comfortable doing so — but existing scripts should cover a wide range of gameplay features.
You can create as many different chains as you want. Here’s a small sample of what you can build with this system:
🔗 How to Connect Objects
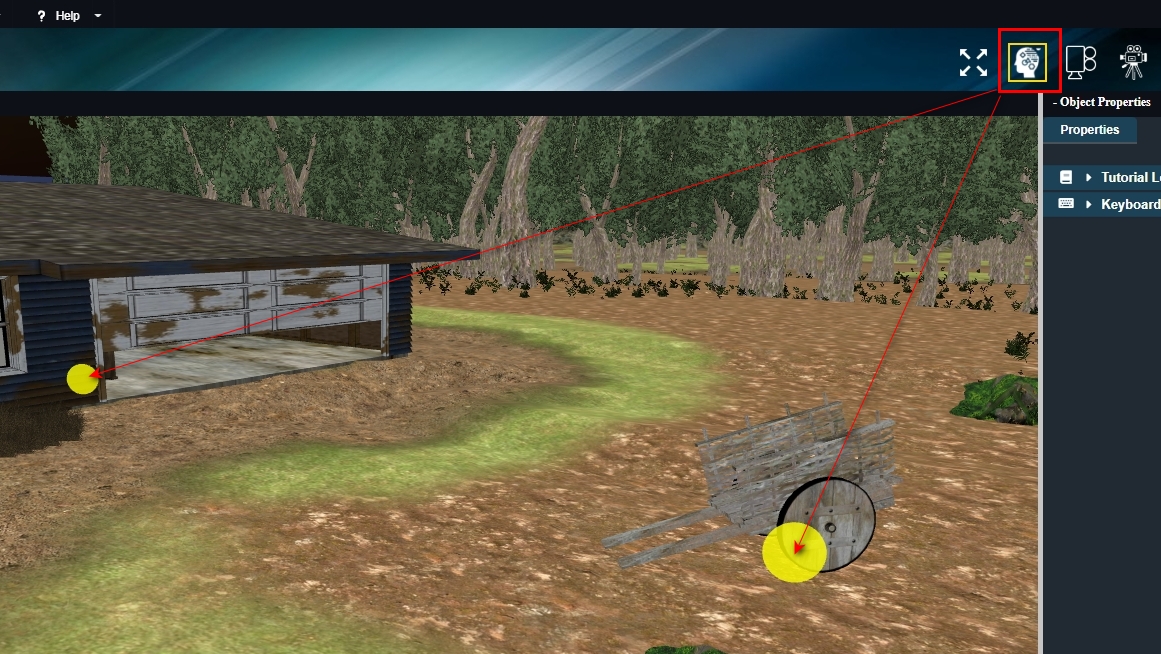
First, activate Visual Logic Mode like shown in the image:
Yellow spheres appear on all objects.
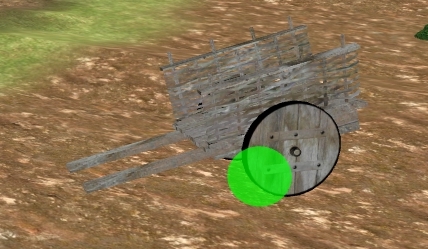
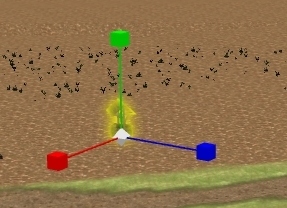
To connect, hover over a sphere:
Example:
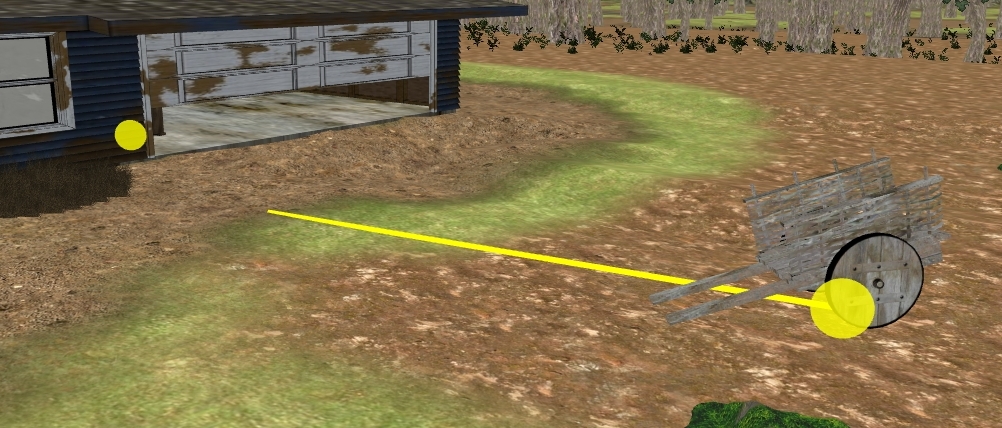
Click and hold the green sphere, drag to another green one, and release.
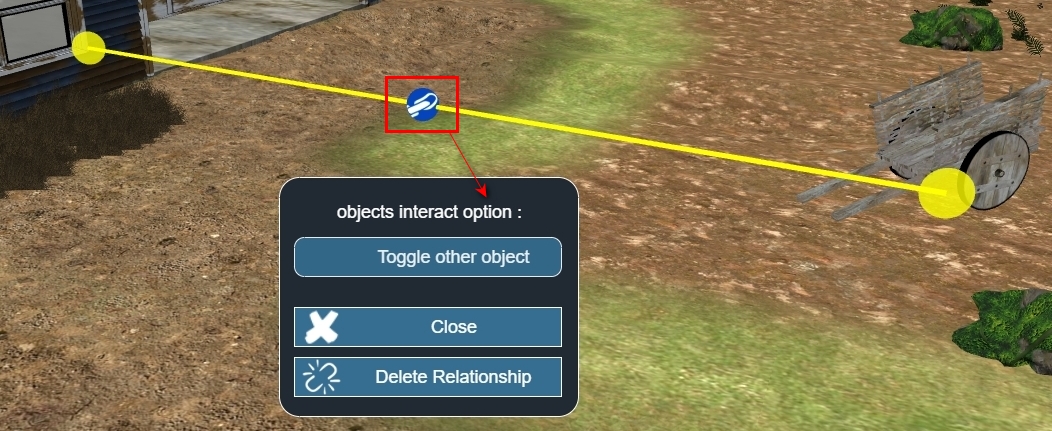
The connection is made: In the middle of each connection, a blue sphere appears. It’s not decorative — it has two purposes:
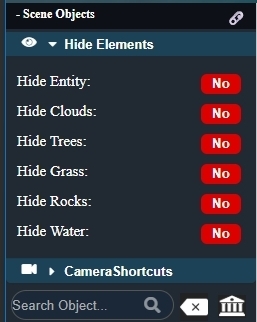
Clicking it opens this interface: This system is the heart of your game’s logic — simple, powerful, and fun for creative minds like yours. 💡 🙈 Hiding ElementsWhen your scene gets crowded, it’s useful to hide some elements temporarily.
Use the left panel to do this:
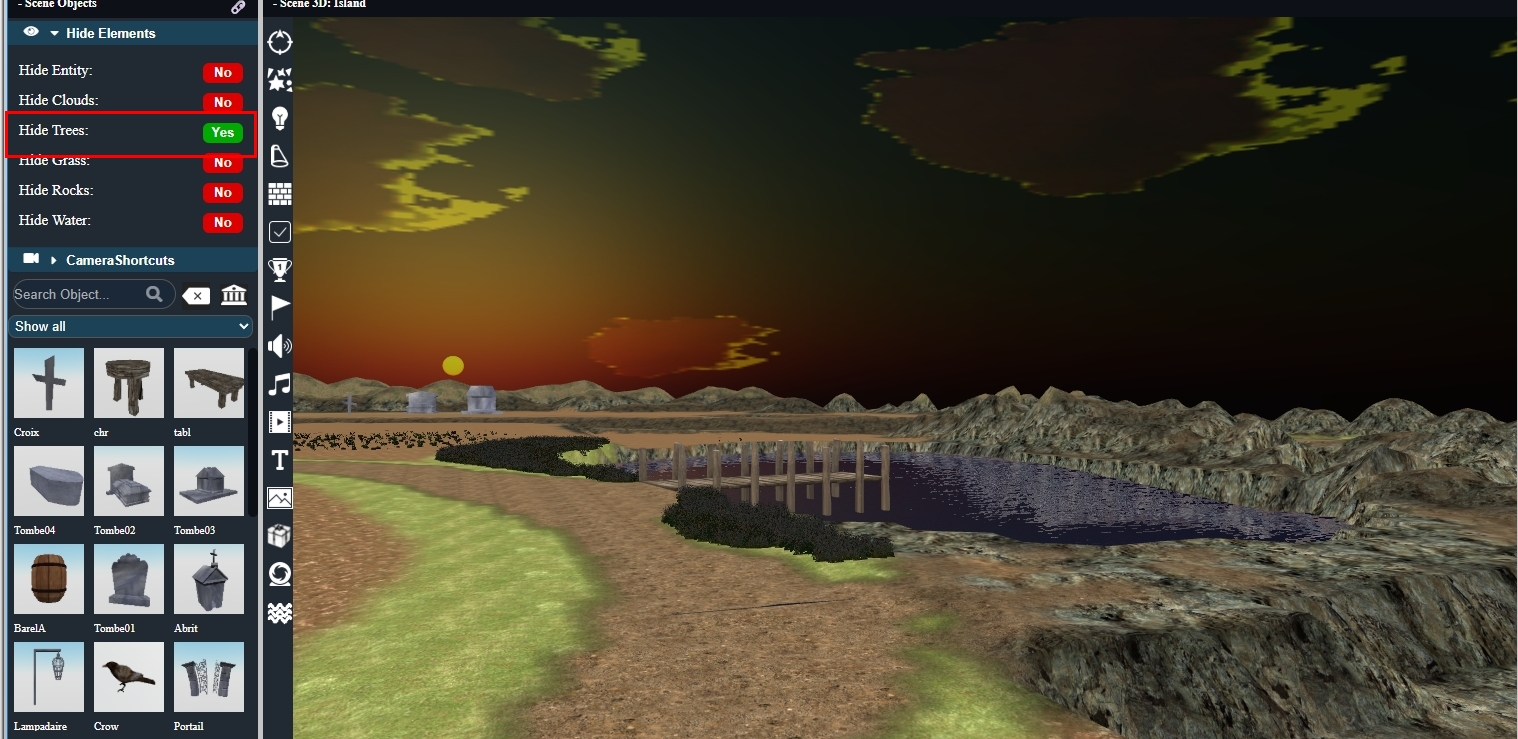
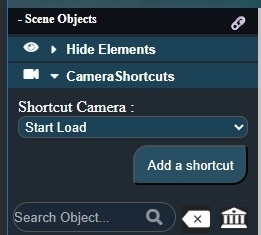
Check any type to hide all objects of that category. You can uncheck to bring them back once you’re done working in that area. 🎯 Camera Shortcuts
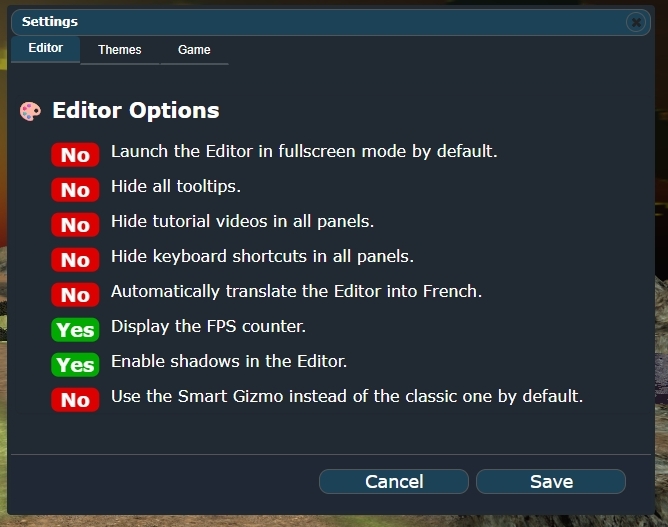
Just move and rotate the camera to where you want, then click “Add a Shortcut”. There’s no limit — use as many as you want. It’s a great way to jump between working zones. ⚙️ SettingsIn the Edit > Settings menu, you'll find a few useful options:
Each option does exactly what its description says — simple and efficient. 🧰 Editor Gizmos
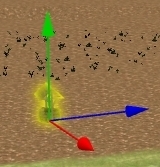
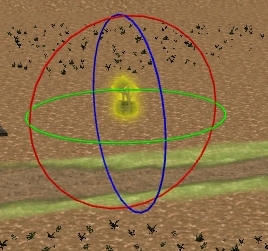
Gizmos let you move, rotate, and scale objects in X, Y, Z directions.
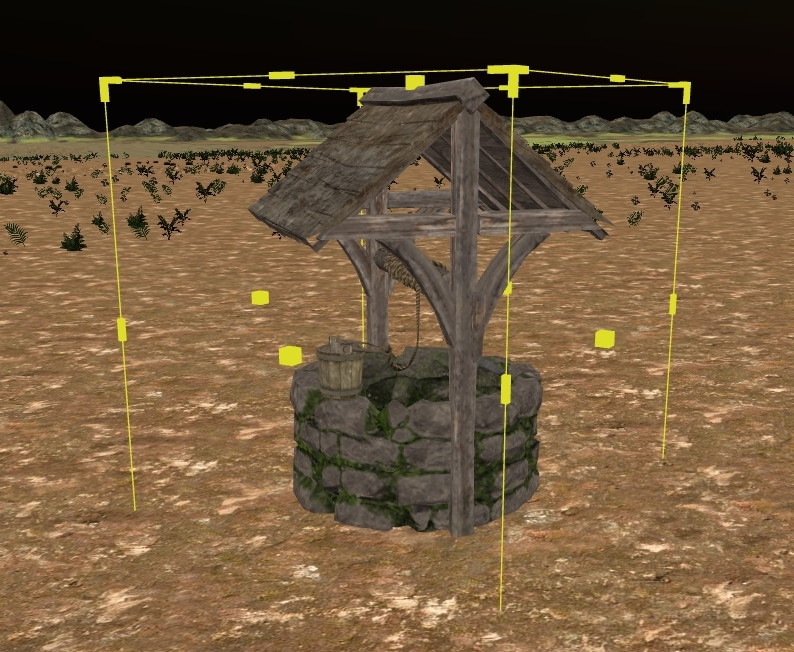
Classic Gizmos look like this:
You can perform transformations through its gizmos. As you can see, it wraps around the selected object and includes several handles: in the corners, on the sides, and in the center. This gizmo lets you move, scale, and rotate objects — but it does much more than that! When in move mode (by selecting the center area of the gizmo), you can move the object freely in all directions without being constrained to any specific axis. It follows your mouse movements — but with some clever extra features:
This saves a lot of time and makes object placement far more precise. 🛠️ ⚠️ Note:because this smart gizmo involves many additional calculations, it may cause some slowdown on lower-end machines. But it's definitely worth trying out!! 💡 Final Note
We’ve covered a lot here, but many more features will be shown in future chapters. This chapter was mostly about navigating the editor and understanding the visual logic system — which is the real core of your game creation. Hope it wasn’t too long — and that it showed just how powerful and intuitive the editor really is. 😊 |